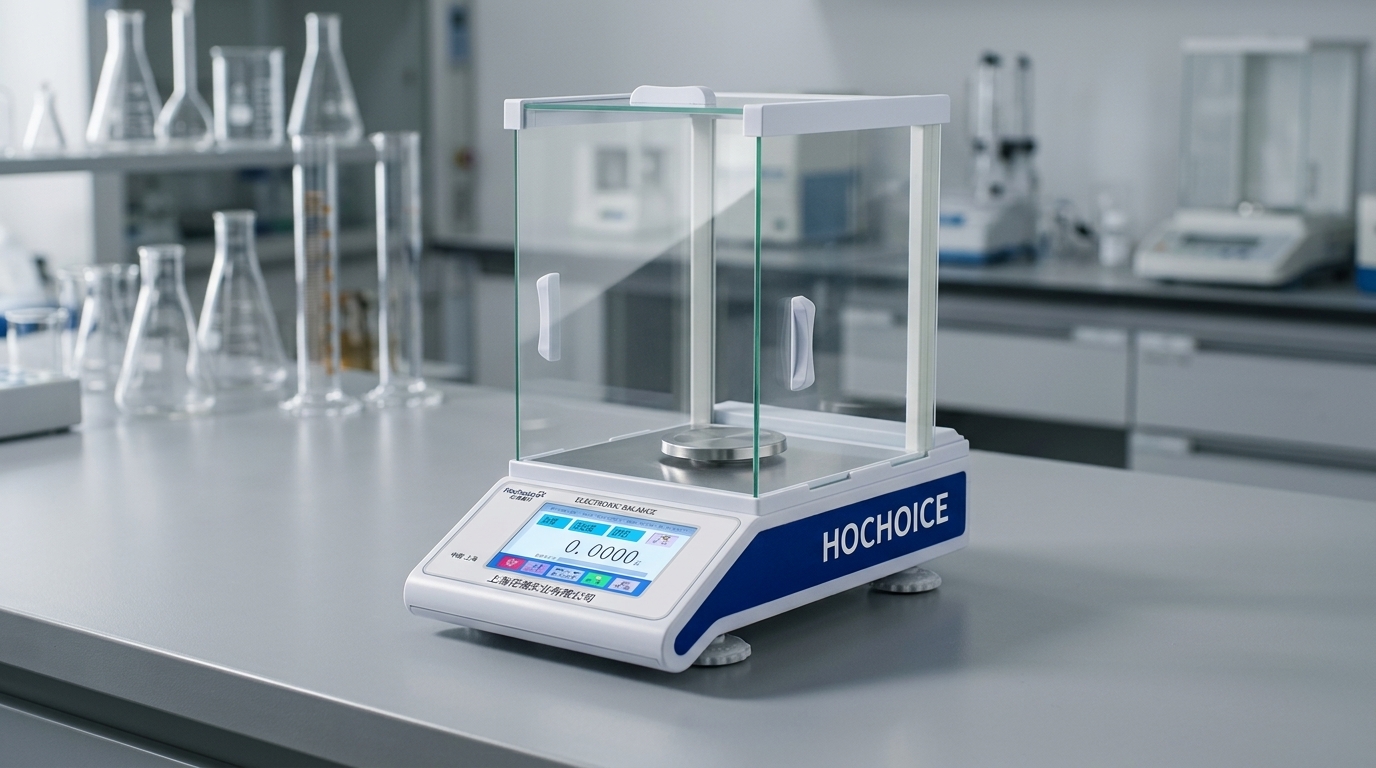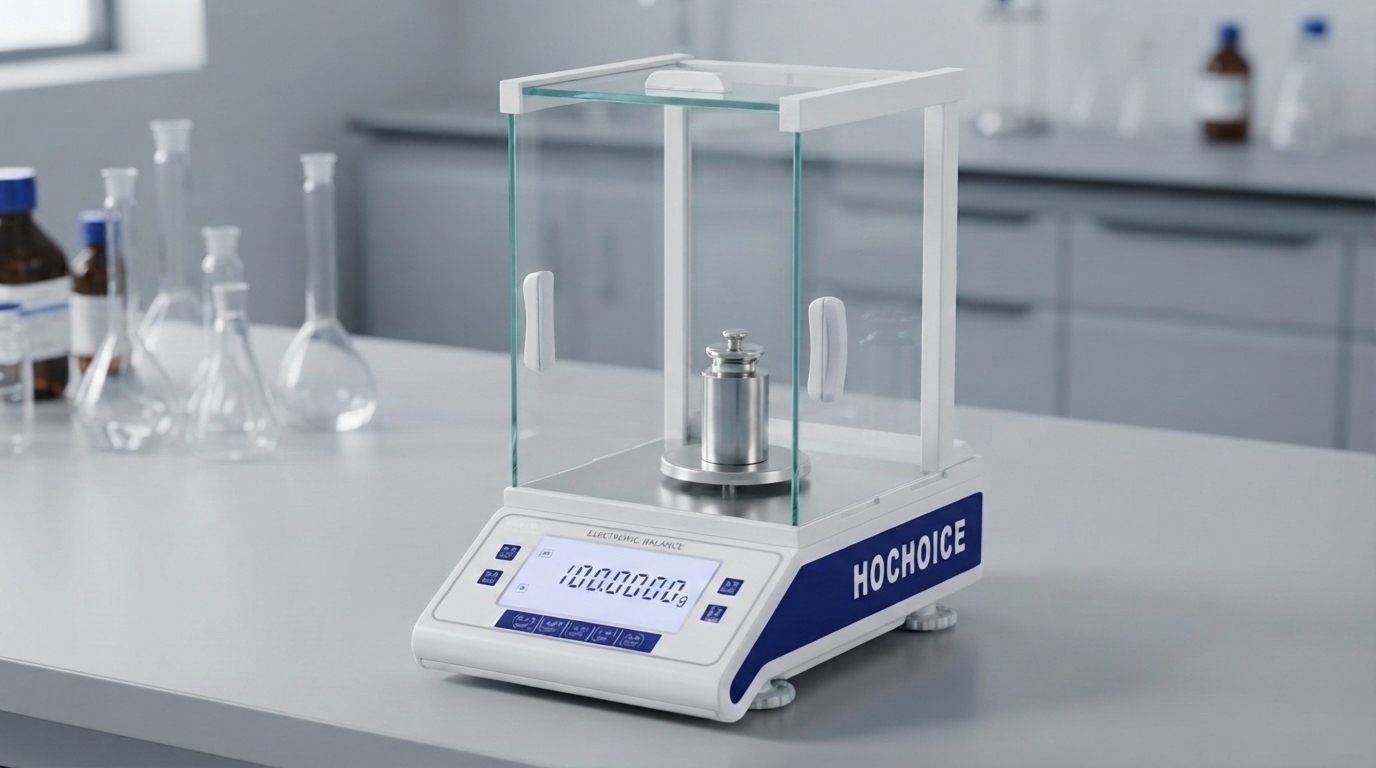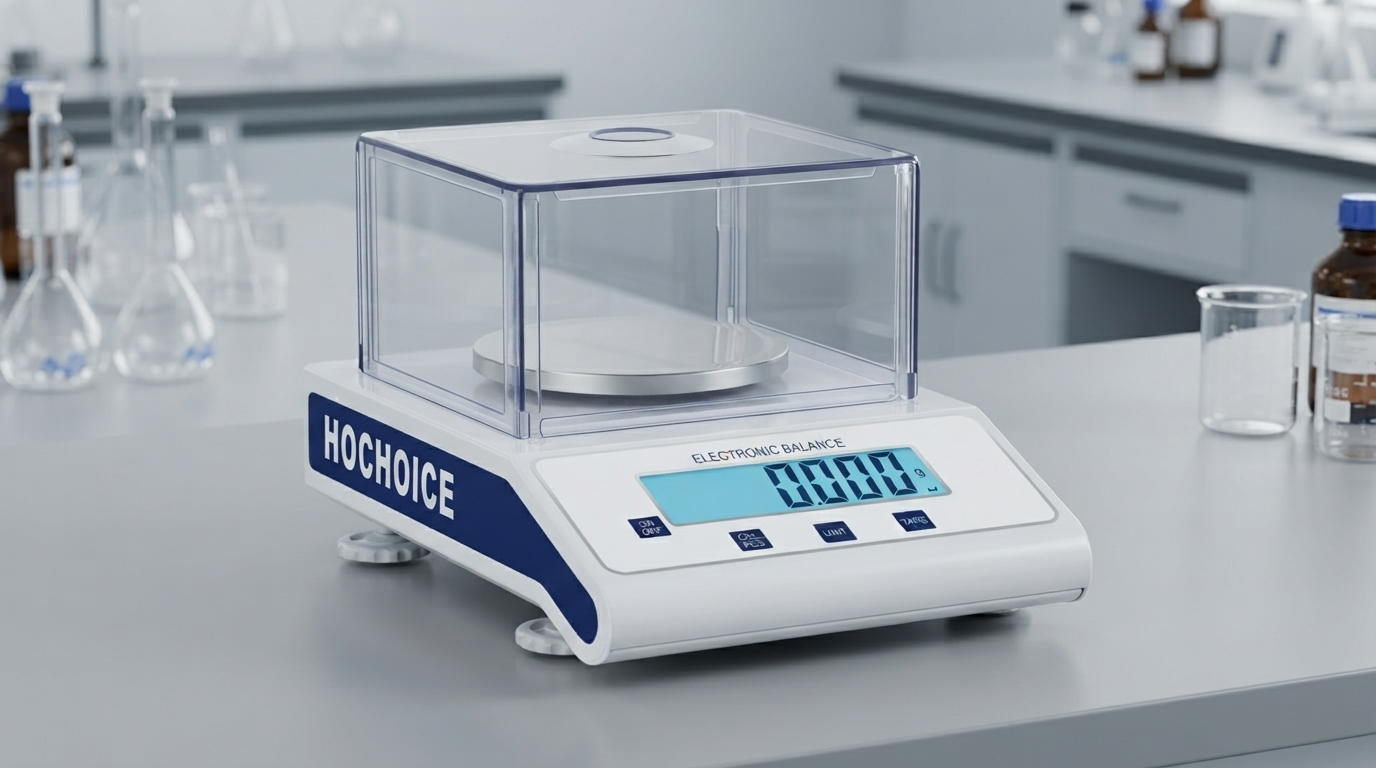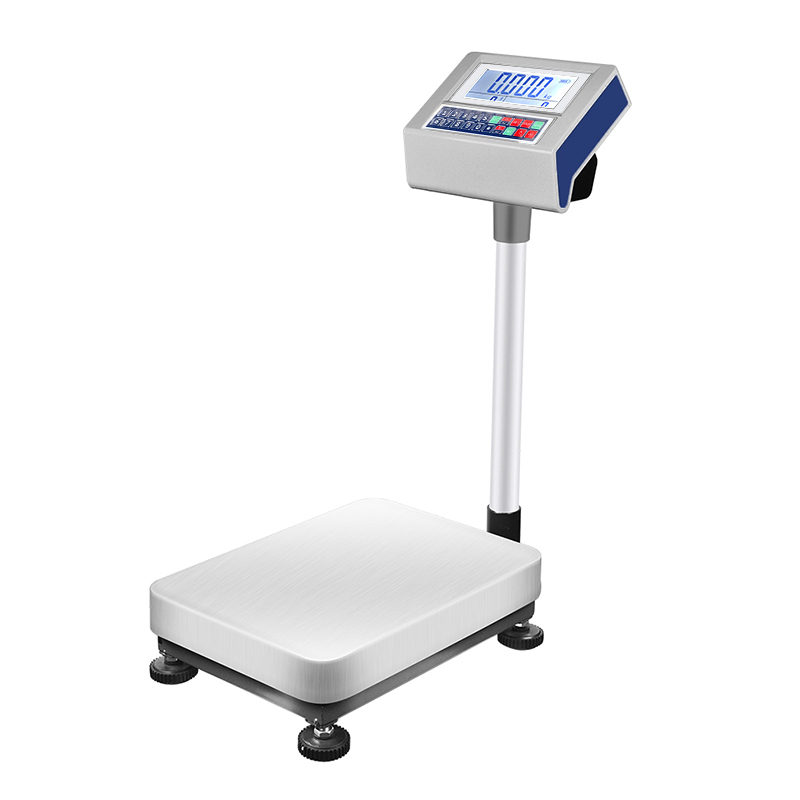

You run a full balance calibration, follow every step, and it still fails. Or calibration passes but readings stay inconsistent. Many operators immediately blame the sensor or buy new weights. But in reality, the #1 hidden cause of failed calibration and inaccurate readings is also the simplest: the balance is not level.
This is so often skipped that it accounts for over 40% of post-calibration accuracy issues in field service reports. A balance that is not level forces the load cell to weigh at an angle, so part of the force resolves sideways instead of straight down. The result is systematic offset, poor repeatability, and calibration that never holds.

Precision balances measure force vertically. Even a 1° tilt introduces measurable error, and on 0.1mg analytical balances, a fraction of a degree of tilt can push readings completely outside tolerance.
Common symptoms of poor leveling:
Calibration passes but readings drift or shift
Results differ depending on where sample is placed on the pan
Readings change noticeably if the balance is bumped
Repeatability is poor even after fresh calibration
Prepare a stable surfacePlace the balance on a rigid, vibration-free workbench. Avoid wobbly tables, flexible benches, or positions near heavy machinery.
Adjust the front feet firstLoosen the lock nuts on the two front leveling feet. Turn each foot evenly to raise or lower the front of the balance. Watch the level bubble as you adjust.
Center the bubble side-to-sideAdjust left and right feet until the bubble sits horizontally centered in the level indicator.
Adjust front-to-back tiltAdjust both front feet equally to move the bubble forward or backward until it is perfectly centered in the target circle.
Tighten lock nutsSecure the lock nuts to hold adjustment. Recheck the bubble after tightening — tightening can shift the level slightly.
Verify after calibrationAlways recheck level after running calibration of electronic balance. Bumping or vibration during calibration can knock the balance slightly out of level.
❌ Only checking level once during installation
❌ Ignoring level after moving or cleaning the balance
❌ Leveling with weight on the pan
❌ Skipping level check before critical measurements
Leveling takes 30 seconds and fixes more calibration issues than any other single step. Make it part of every pre-use check and every calibration routine.
Related Guide:Balance Calibration Done But Still Inaccurate? 6 Hidden Causes
Related Product:Hochoice Precision Balances with Clear Level Indicator
Get Support:Professional on-site calibration and setup service
All Hochoice balances are built with high-visibility level bubbles and smooth-adjustment feet, making fast, accurate leveling easy for every operator. Our equipment carries full international certifications and undergoes strict factory testing before delivery.