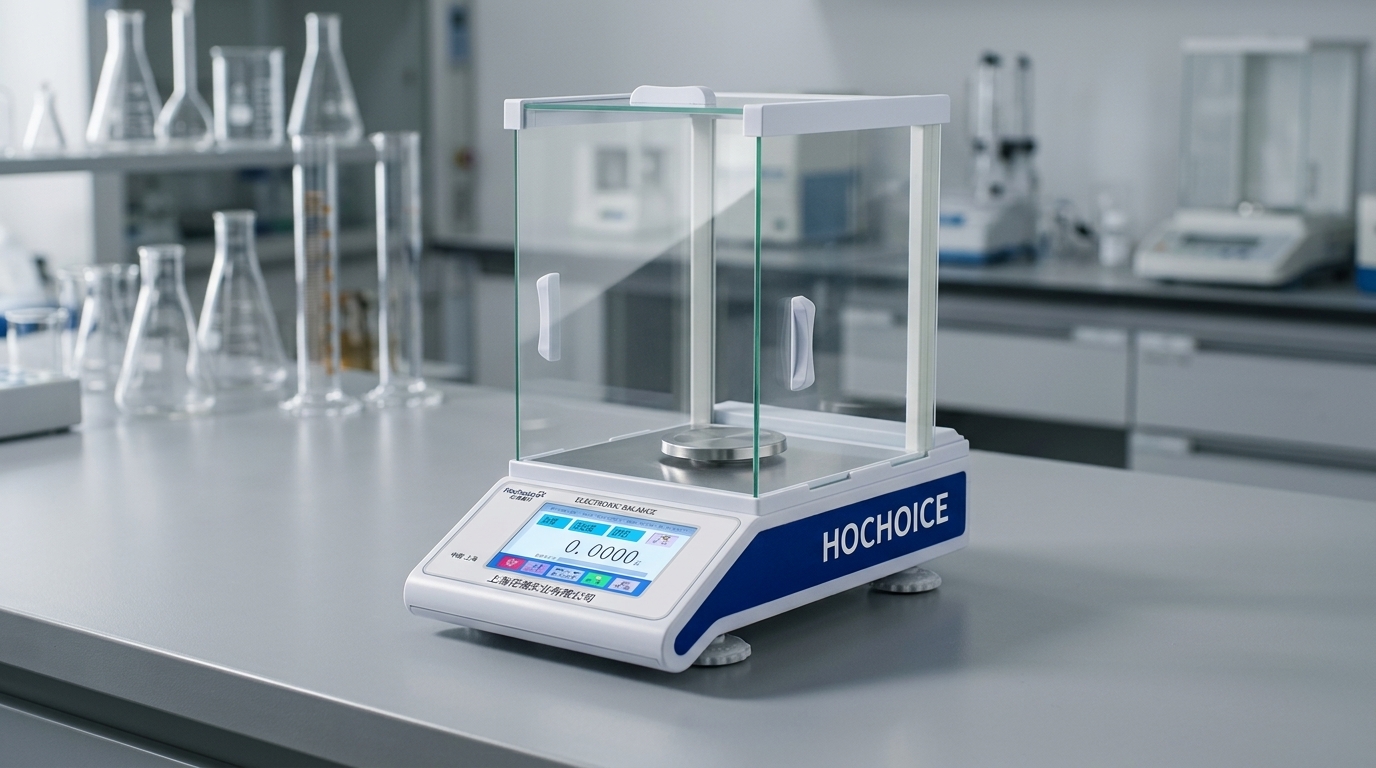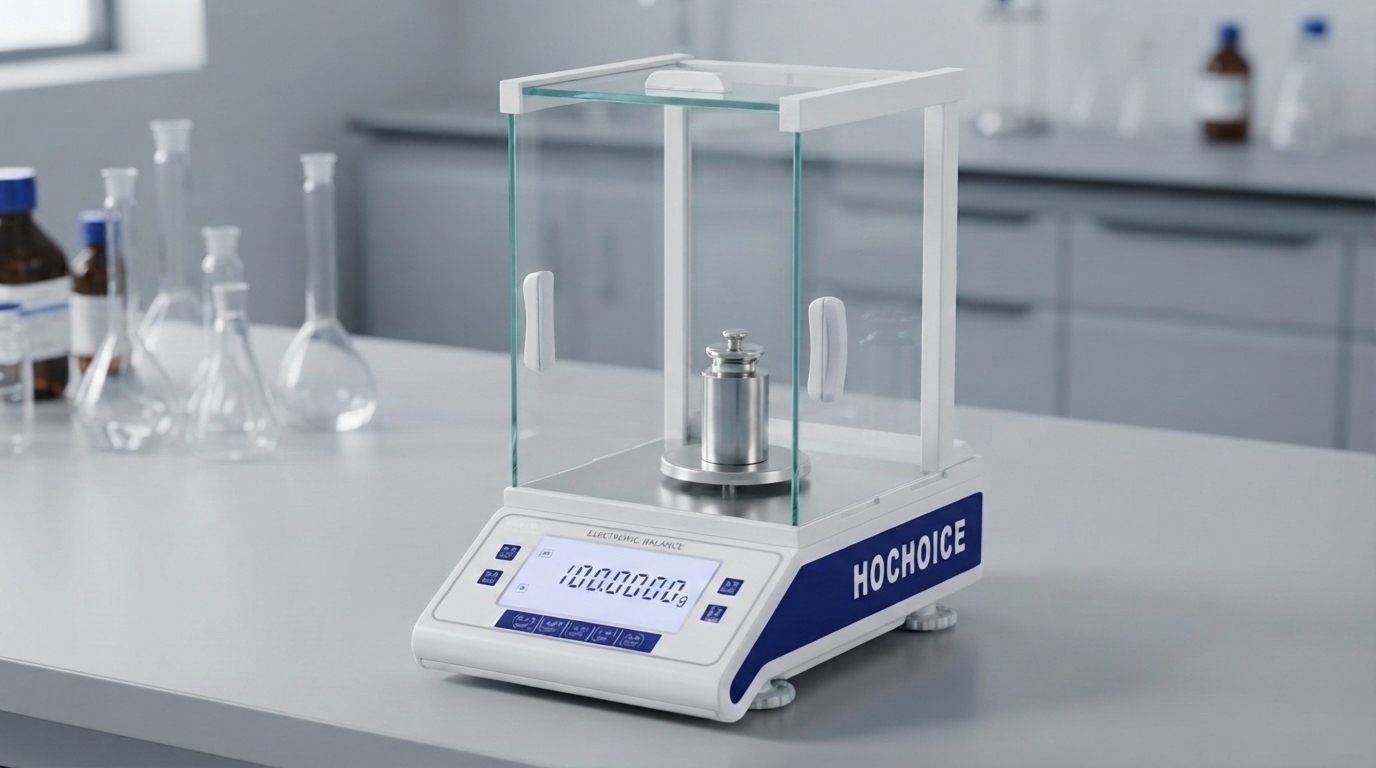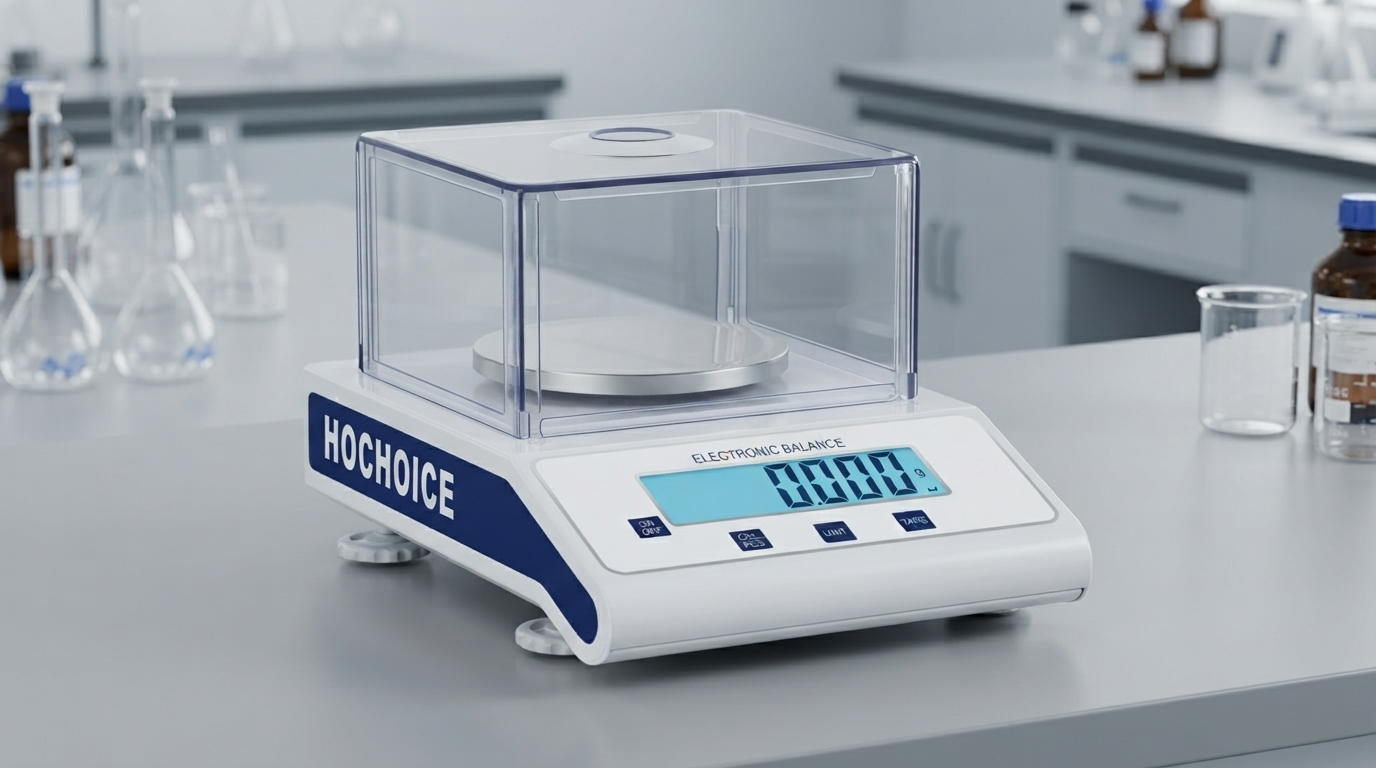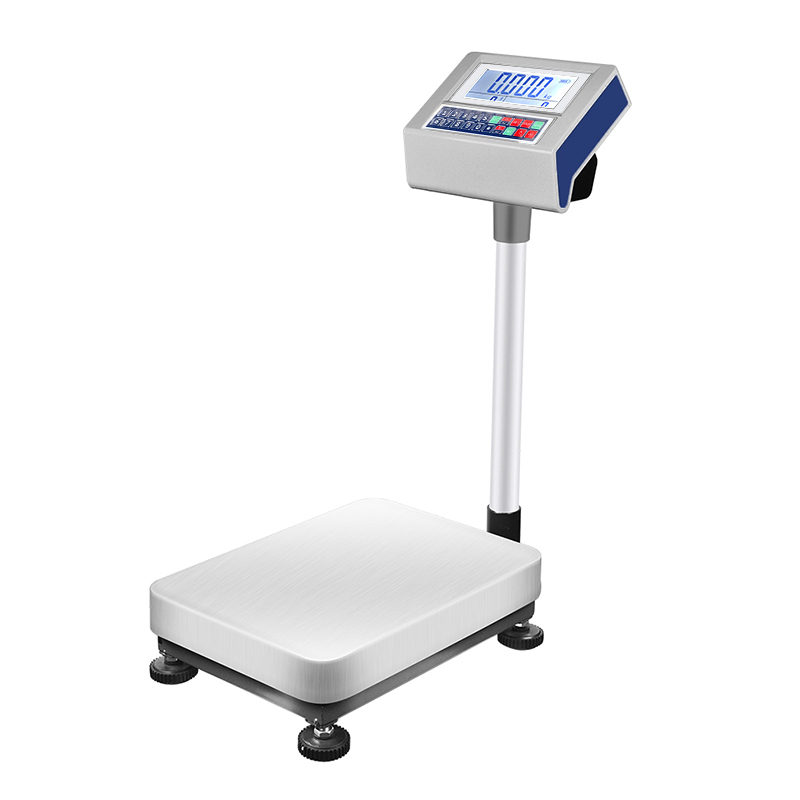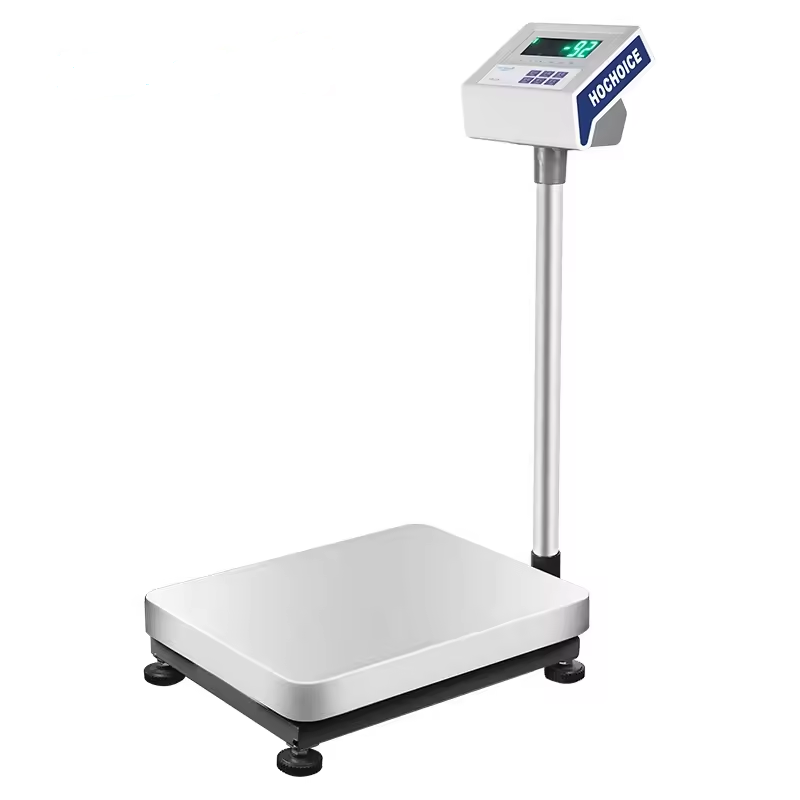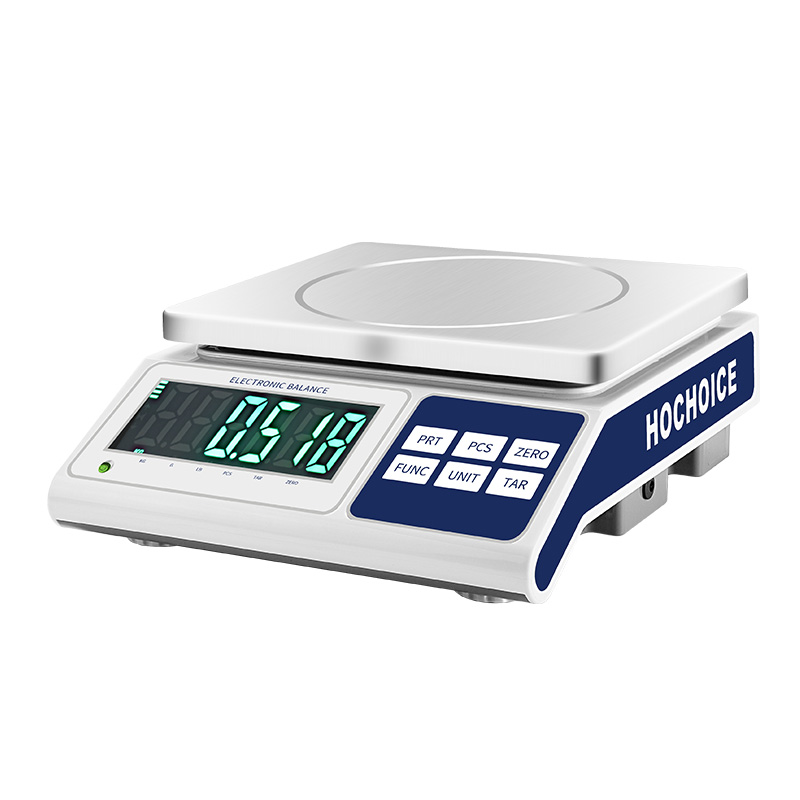

Any time a precision balance is relocated — whether across the lab or across facilities — a full acceptance procedure is required to confirm accuracy. For regulated laboratories, calibration of electronic balance after relocation is not optional — it is a mandatory requirement of ISO 17025, GMP and most quality management systems.
This standardized procedure applies to all precision and analytical balances. It ensures the instrument is functioning correctly in its new environment and that measurement results remain defensible and traceable.
Mechanical settling timeAllow the balance to sit undisturbed in the new location for a minimum of 4 hours. Overnight settling is recommended for 0.1mg analytical balances.
Environmental checkConfirm the new location meets specifications: stable temperature within ±1°C, humidity 40–60%, no excessive vibration, no direct drafts.
InspectionRemove all packing materials. Inspect the pan, suspension and housing for transport damage. Clean all surfaces.
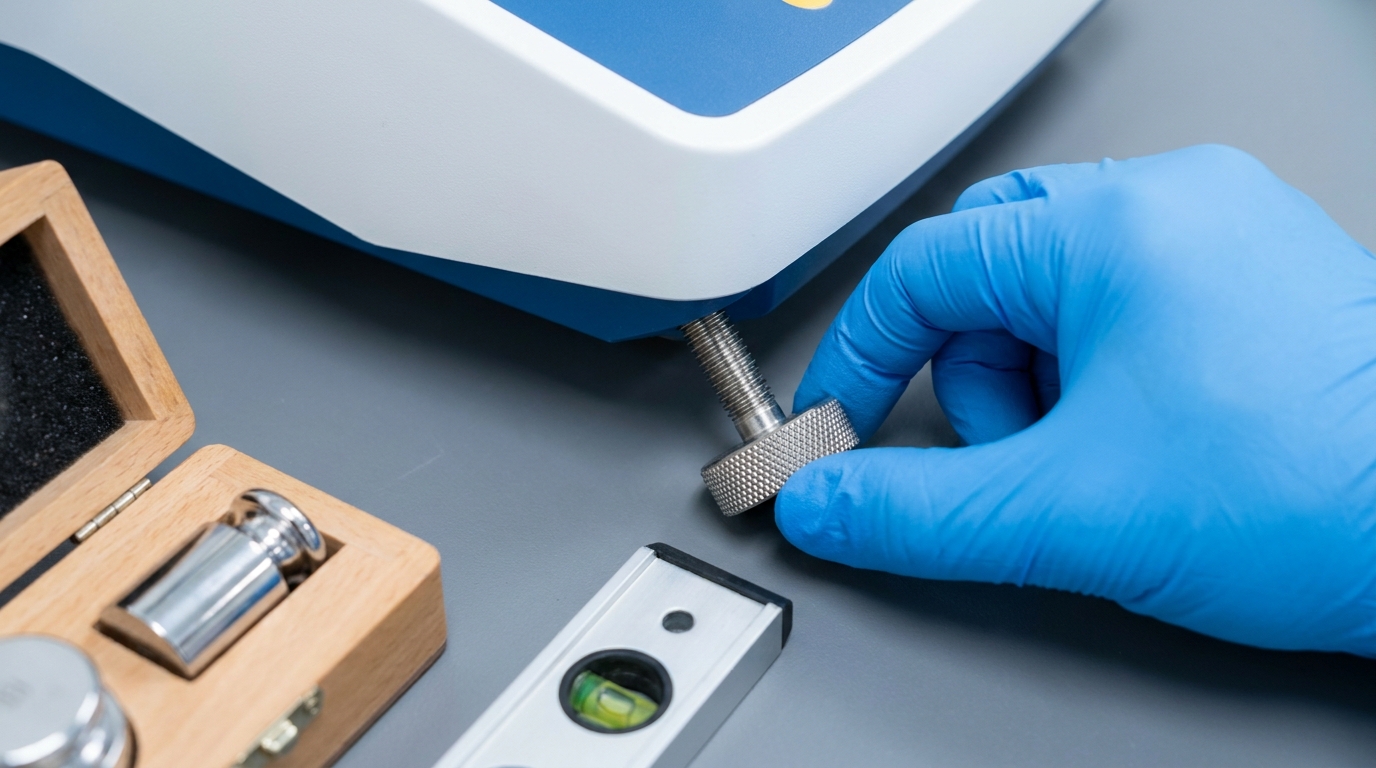
Level adjustmentAdjust the leveling feet until the balance is perfectly level. Tighten lock nuts and re-verify. Leveling is the foundation of all accurate weighing and must be completed before any other step.
Power up and warm-upConnect power and turn on the balance. Allow full warm-up time according to the manufacturer specification:
0.01g–0.1g bench scales: 15–30 minutes
1mg precision balances: 30 minutes minimum
0.1mg analytical balances: 60 minutes minimum
Standard zero resetWith an empty clean pan and closed draft shields, wait for full display stabilization. Follow standard procedure for how to reset digital scale to zero: press zero once only. Do not press repeatedly. Verify the zero point is stable for at least 30 seconds.
Internal calibration (if equipped)Run the built-in internal calibration routine. Allow it to complete fully. This corrects basic sensor drift from transport and temperature change.
External weight calibrationPerform full calibration of electronic weighing balance using traceable certified weights:
Use weights at least one accuracy class higher than the balance specification
Place weight gently at the exact center of the pan using tweezers
Wait for full stabilization before recording
Run calibration adjustment if readings fall outside tolerance
Multi-point linearity verificationTest accuracy at minimum three points across the weighing range: low, mid and high capacity. This confirms the balance is accurate across its full operating range, not just at one calibration point.
Eccentric load testPlace the test weight at four positions around the pan (front, back, left, right). Compare all readings to the center value. This verifies accuracy regardless of sample placement.
Zero return verificationRemove all weight. Wait for stability. Confirm the display returns to zero within acceptable tolerance.
DocumentationRecord all results, date, operator, weight serial numbers and environmental conditions. Update the calibration log and apply a new calibration status label to the balance.
Zero stability within ±0.3 display divisions
All weight readings within ±1 display division of nominal
Eccentric load difference ≤ ±1 display division
Zero return within ±0.5 display divisions
Related Guide:Balance Calibration Verification: 5 Daily Checks for Reliable Results
Related Product:Hochoice Calibration-Ready Precision & Analytical Balances
Get Service:ISO 17025-traceable on-site calibration with full documentation
Following this standardized acceptance procedure after relocation ensures your digital balance calibration remains valid, results remain traceable, and the instrument is fully compliant with quality system requirements.