
Proper balance calibration and correct zero reset are the foundation of all accurate weighing data. Many teams rush through these basic steps, introducing hidden systematic error into every single measurement. This guide works for all precision and digital laboratory balances.
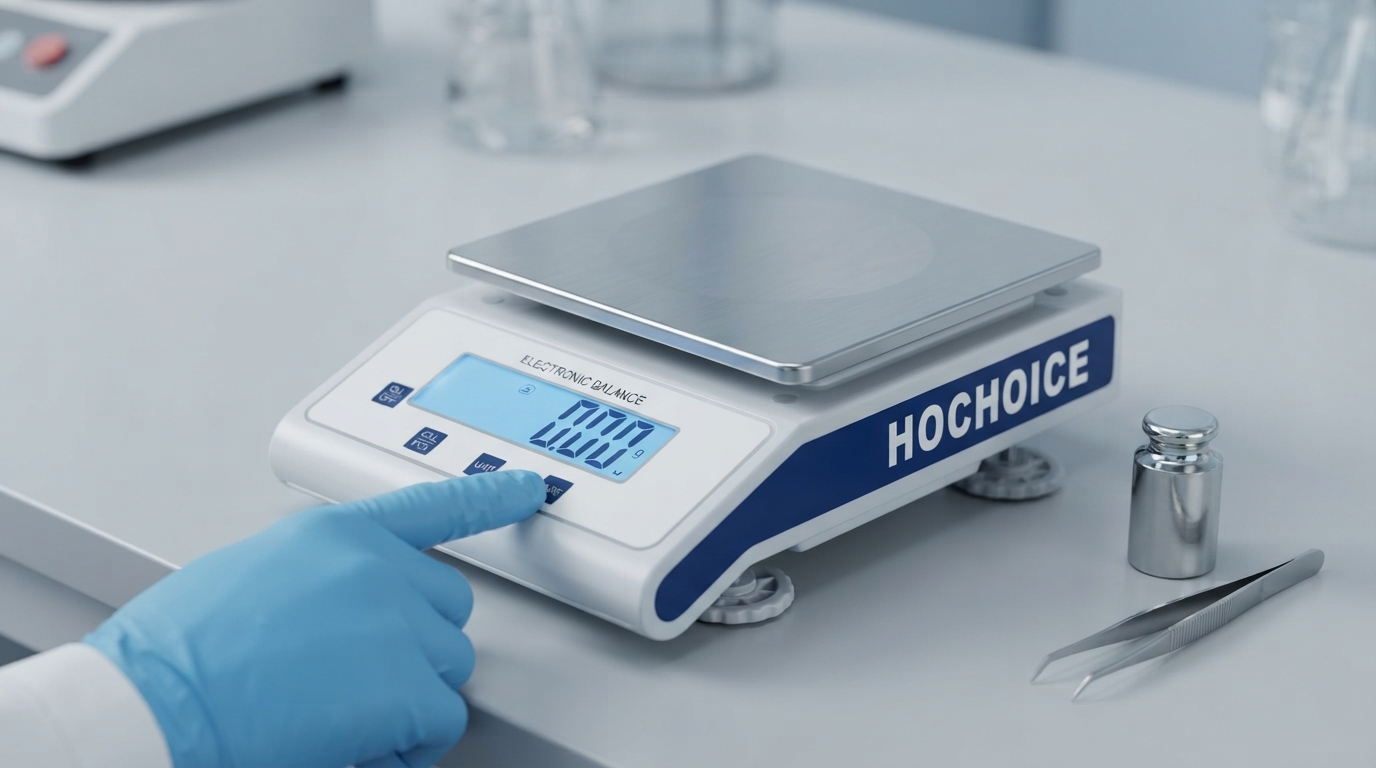
Zero reset sets the baseline for all measurements. Done wrong, every reading will be off by a consistent offset.
Make sure the balance is fully preheated (30–60 minutes for precision analytical models).
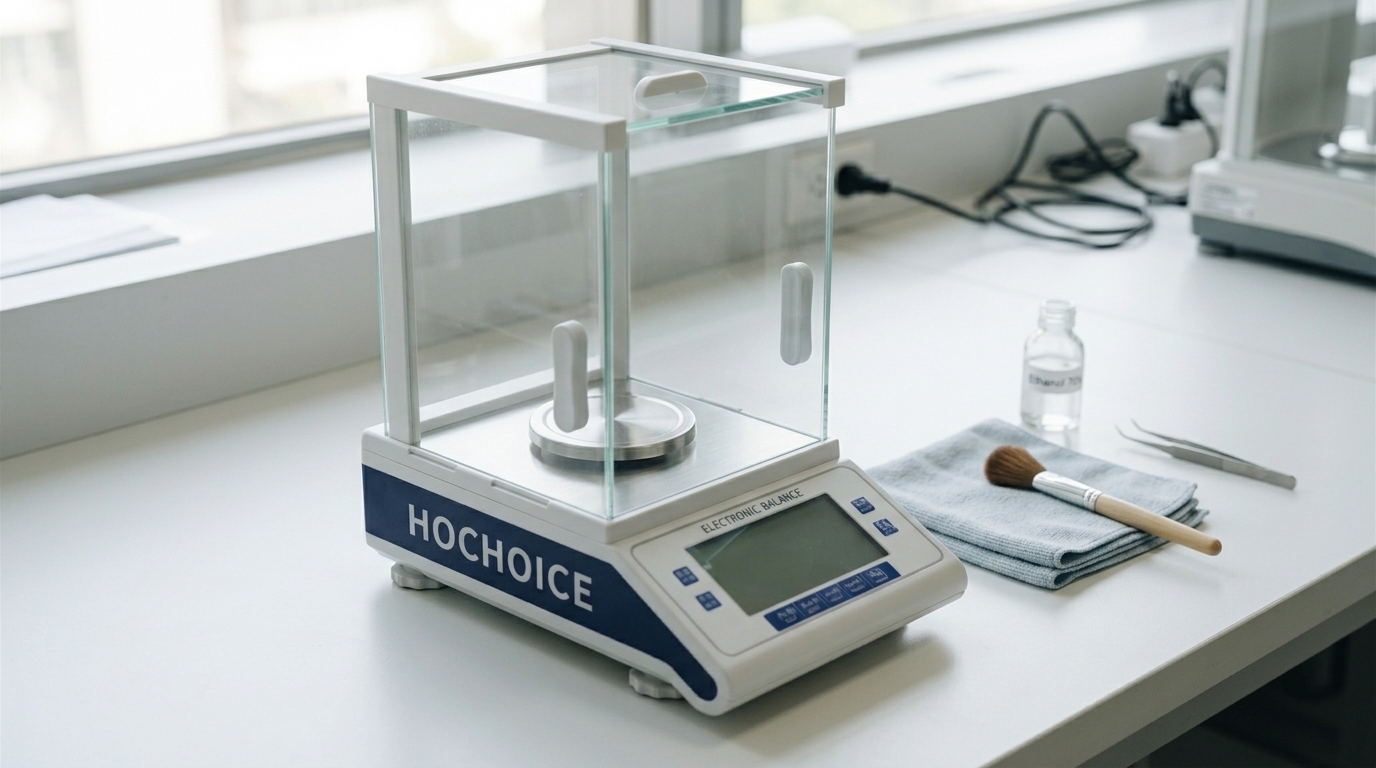
Confirm the weighing pan is clean, empty and properly seated on the sensor.
Close all windshield doors completely to block airflow interference.
Wait for the display to stabilize completely and the stability indicator comes on.
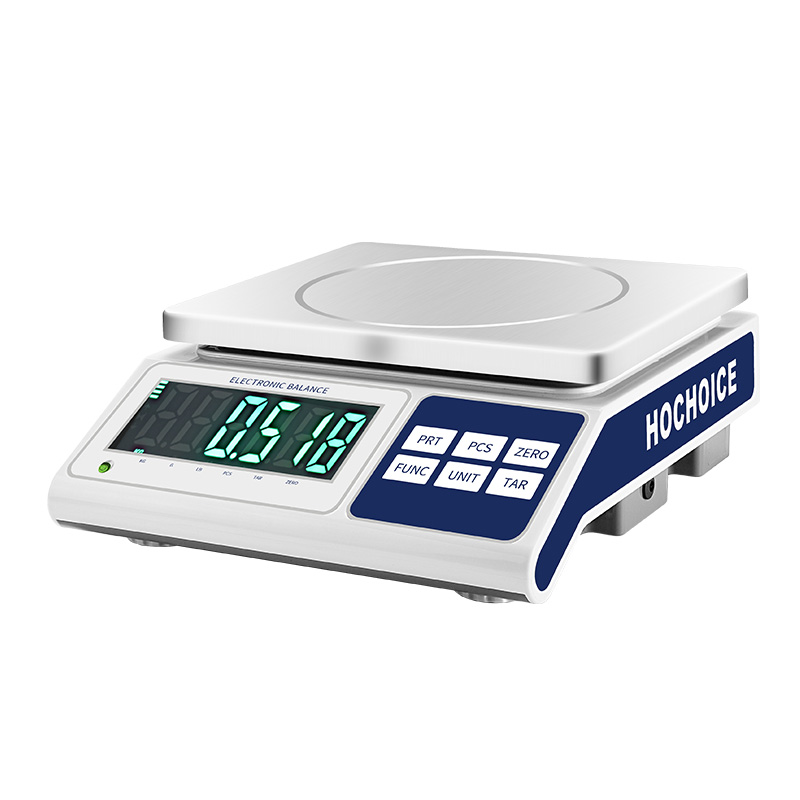
Press the ZERO key once. Wait for the display to show 0.000g and confirm stability.
Do not press the key repeatedly — this causes more drift instead of fixing it.
Follow this routine for scheduled calibration or after persistent zero drift issues:
Preheat the balance fully and confirm the zero point is stable.
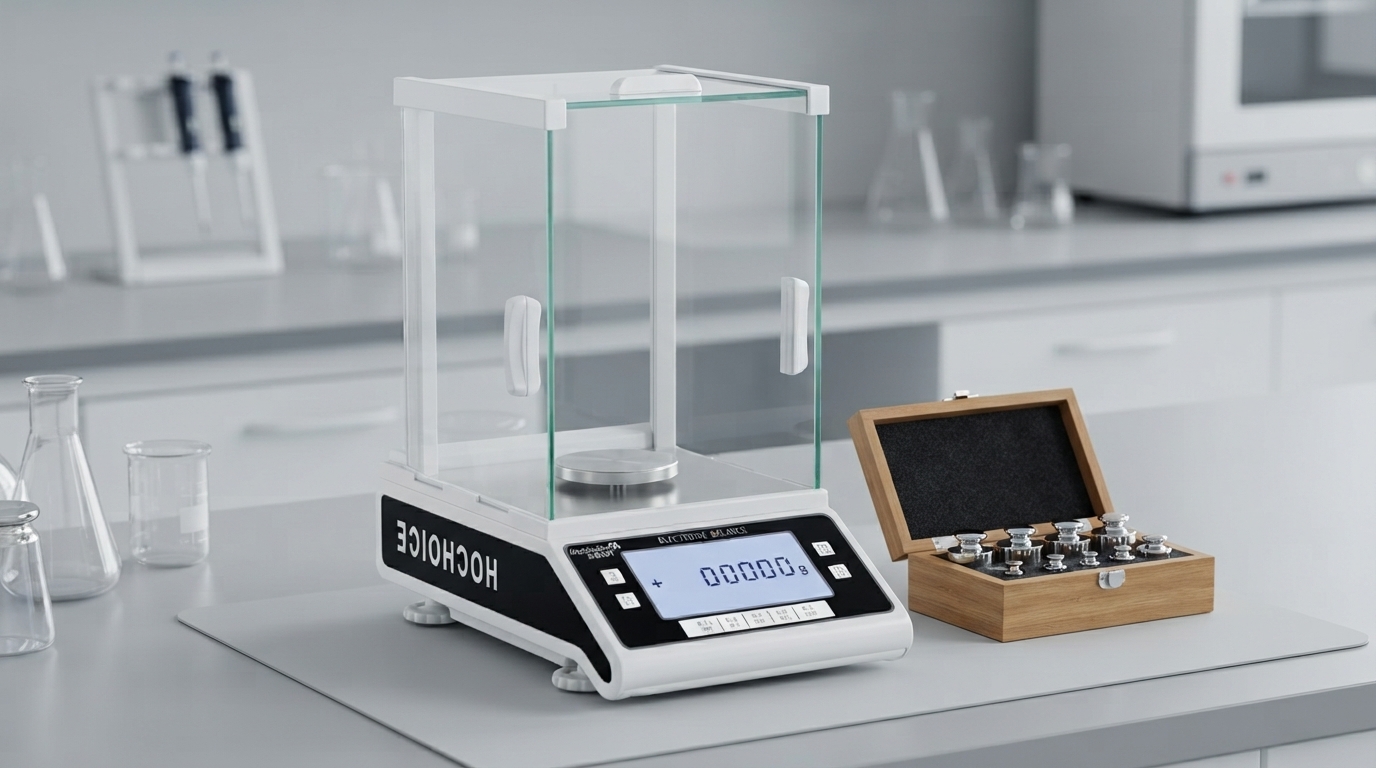
Select a traceable certified weight matching your balance accuracy class.
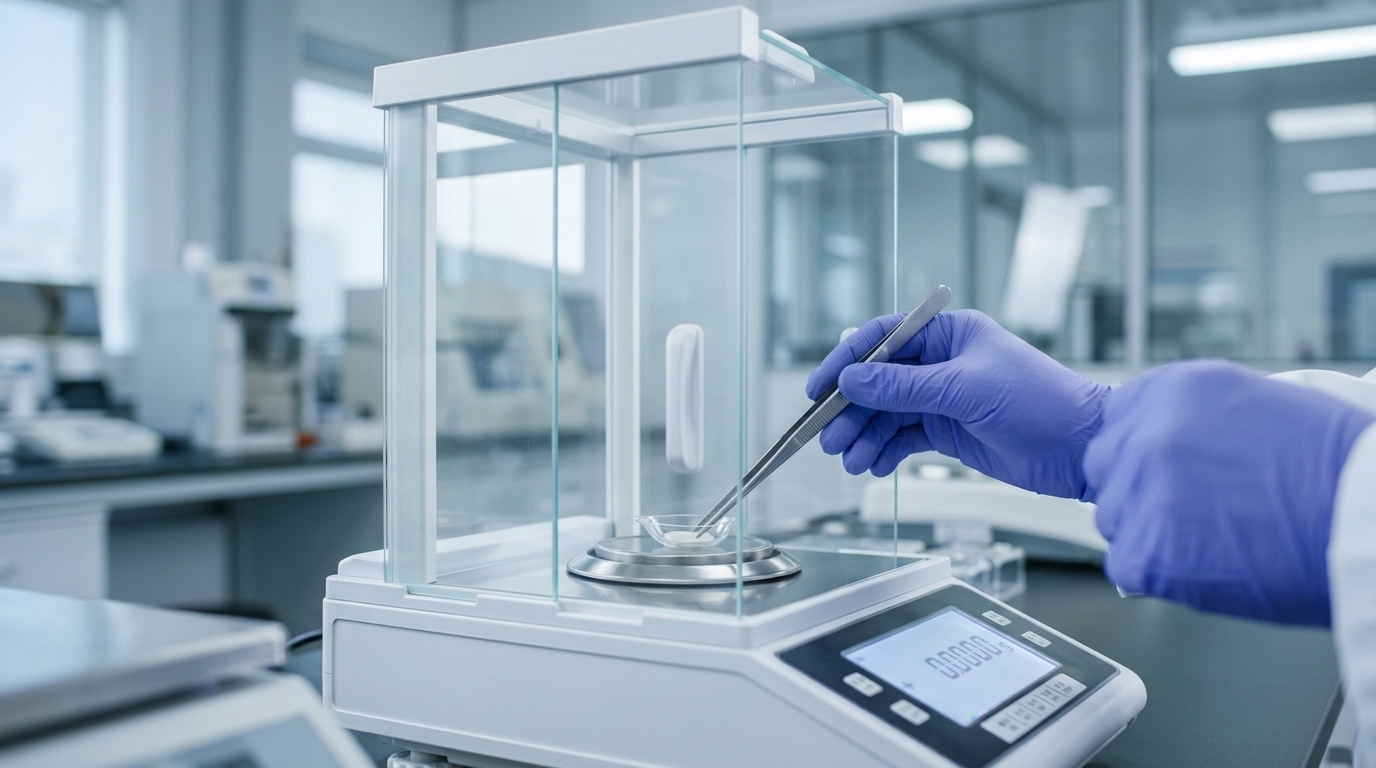
Use clean tweezers to place the weight gently at the exact center of the weighing pan.
Start the built-in calibration program. Do not touch the bench or balance during the process.
Wait for the calibration to complete and confirm the result.
Remove the weight, verify zero return, and repeat 2–3 times to confirm accuracy and repeatability.
❌ Skipping warm-up time before calibration
❌ Zeroing or calibrating with the windshield open
❌ Using bare hands to handle calibration weights
❌ Placing weights off-center on the pan
❌ Treating zero reset as a replacement for full calibration
Related Guide:Digital Scale Not Reading Weight? Complete Troubleshooting
Related Product:Hochoice Balances with Auto-Calibration Function
Get Support:Schedule professional on-site calibration service
Hochoice balances support both manual and automatic calibration, with clear operation prompts and stable sensor performance for consistent, accurate long-term results.